Gaffing Cables Like a Pro

Samadhi Perera • June 9, 2026

If you’ve ever looked across the floor after setting up your gear and seen a web of tangled cables crossing every direction — you’re not alone. Cable management might not be the flashiest part of your setup, but it an important part of keeping your setup safe, efficient, and professional-looking.


With a good roll of gaffer’s tape, a little bit of planning, and a few best practices you can take your cable management from chaos to cathartic. Here’s how to keep those runs clean, tidy, and trip-free.

Step 1: Plan Your Cable Paths

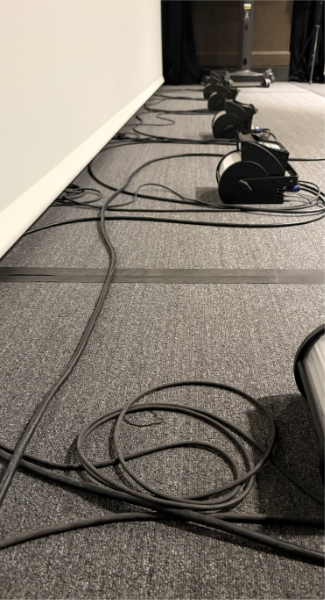
Before you start plugging things in, take a moment to plan your routes. Run cables in straight lines where possible, and try to avoid high-traffic areas. Running your cables along walls, and the backs of set pieces or risers often make for cleaner, safer paths.


Even in the best setups, it’s not always possible to avoid crossing where someone might walk. That’s where gaffer’s tape earns its reputation as a tech’s best friend.

Step 2: Tape It Down the Right Way

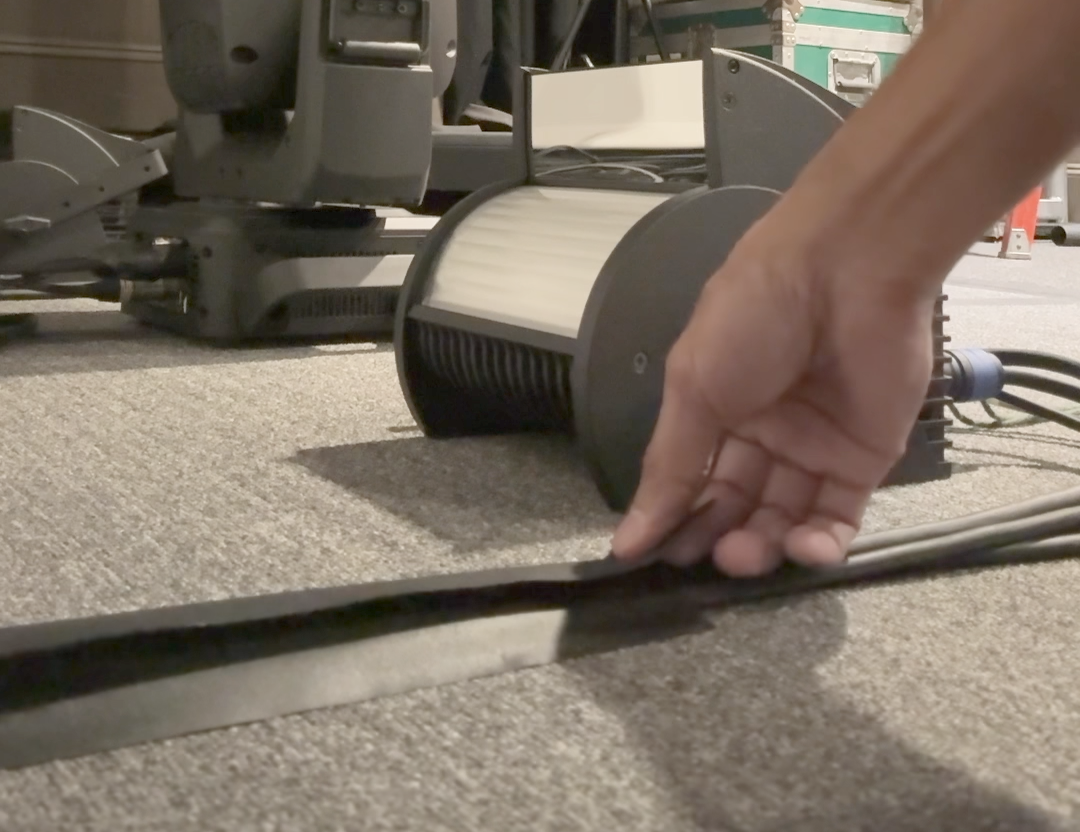
To secure your cables properly, start by placing a short perpendicular strip of gaff at each end of the section you’re taping. This anchors the run and keeps things from shifting.


Next, use two long strips running parallel to your cable, slightly overlapping it from either side. This creates a low-profile, secure seal that stays in place but still allows for easy removal when you strike.


If you’re dealing with multiple cables, lay them neatly side by side before taping. Double-width gaff can be a real time-saver in these cases, covering several lines in one pass.

Sometimes it's easier to see a technique than read about it. Here's a quick tip from the Resource Stage team that demonstrates one of the concepts discussed above.

Now that you've seen it in action, let's look at a few additional considerations when gaffing cables in high-traffic areas.

Step 3: Use Cable Mats for Busy Areas

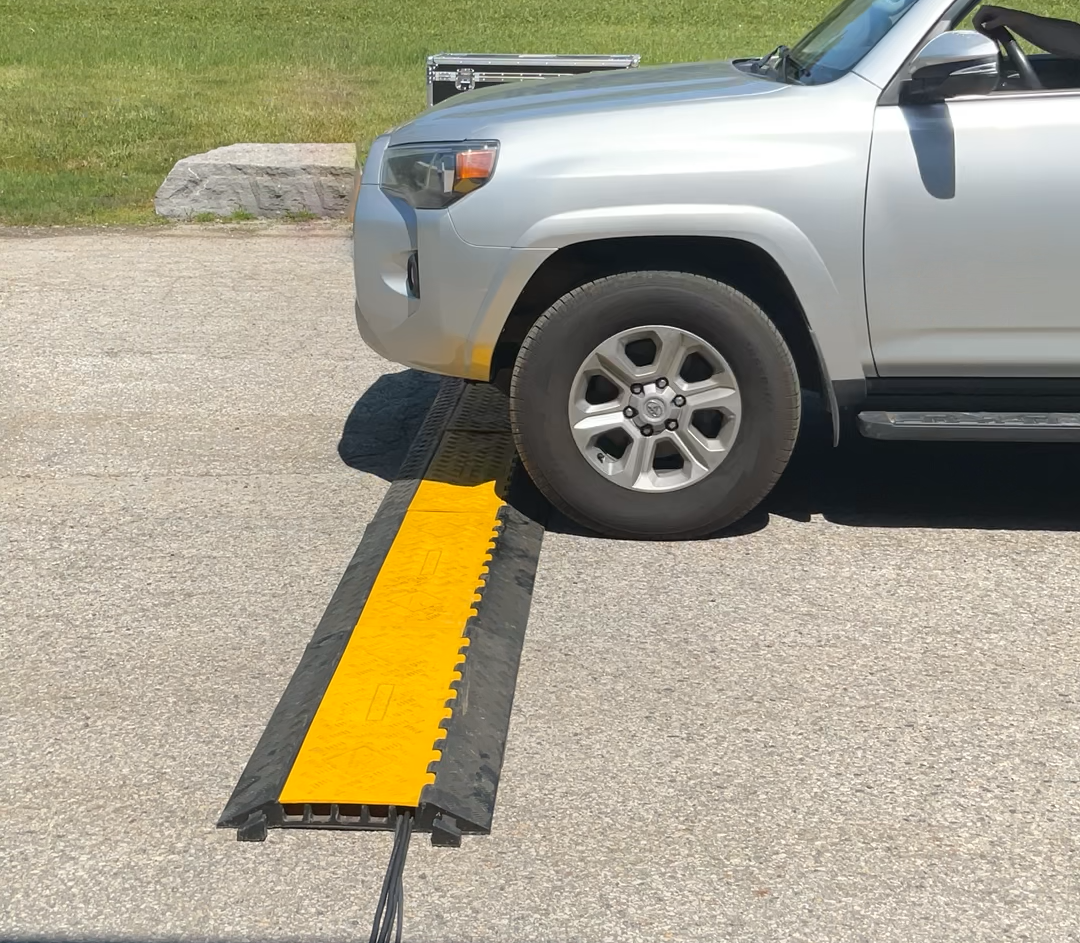
In high-traffic zones — entrances, hallways, or anywhere you can’t avoid foot traffic — cable mats are a must. They provide extra protection, prevent slips, and stand up to repeated use much better than tape alone.


When using mats, still tape around the edges with gaff to keep them from shifting. The goal is a smooth, secure surface that looks intentional and performs safely.

Why It Matters

 Clean cable runs don’t just look better — they work better. Proper management:

  • Reduces trip hazards and safety risks
  • Protects cables from wear, tear, and accidental pulls
  • Keeps your stage or workspace organized and looking professional

In short, a little time spent managing cables upfront saves a lot of headaches later.


Good cable management and gaffe taping methods are some of those small details that separate a cluttered setup from a professional one. Taking a few extra minutes to plan your paths, tape correctly, and protect your runs keeps your show or event running smoothly — and safely.

At Horizon, our focus is helping people build confidence through practical, real-world solutions. From hands-on workshops, tailored training sessions, to complete AV system design and installation, we can work with you to go from from “good enough” to production-ready.


If you or your team could use training in the audio/lighting/video realm or on practical live event skills — like cable management — let’s talk.

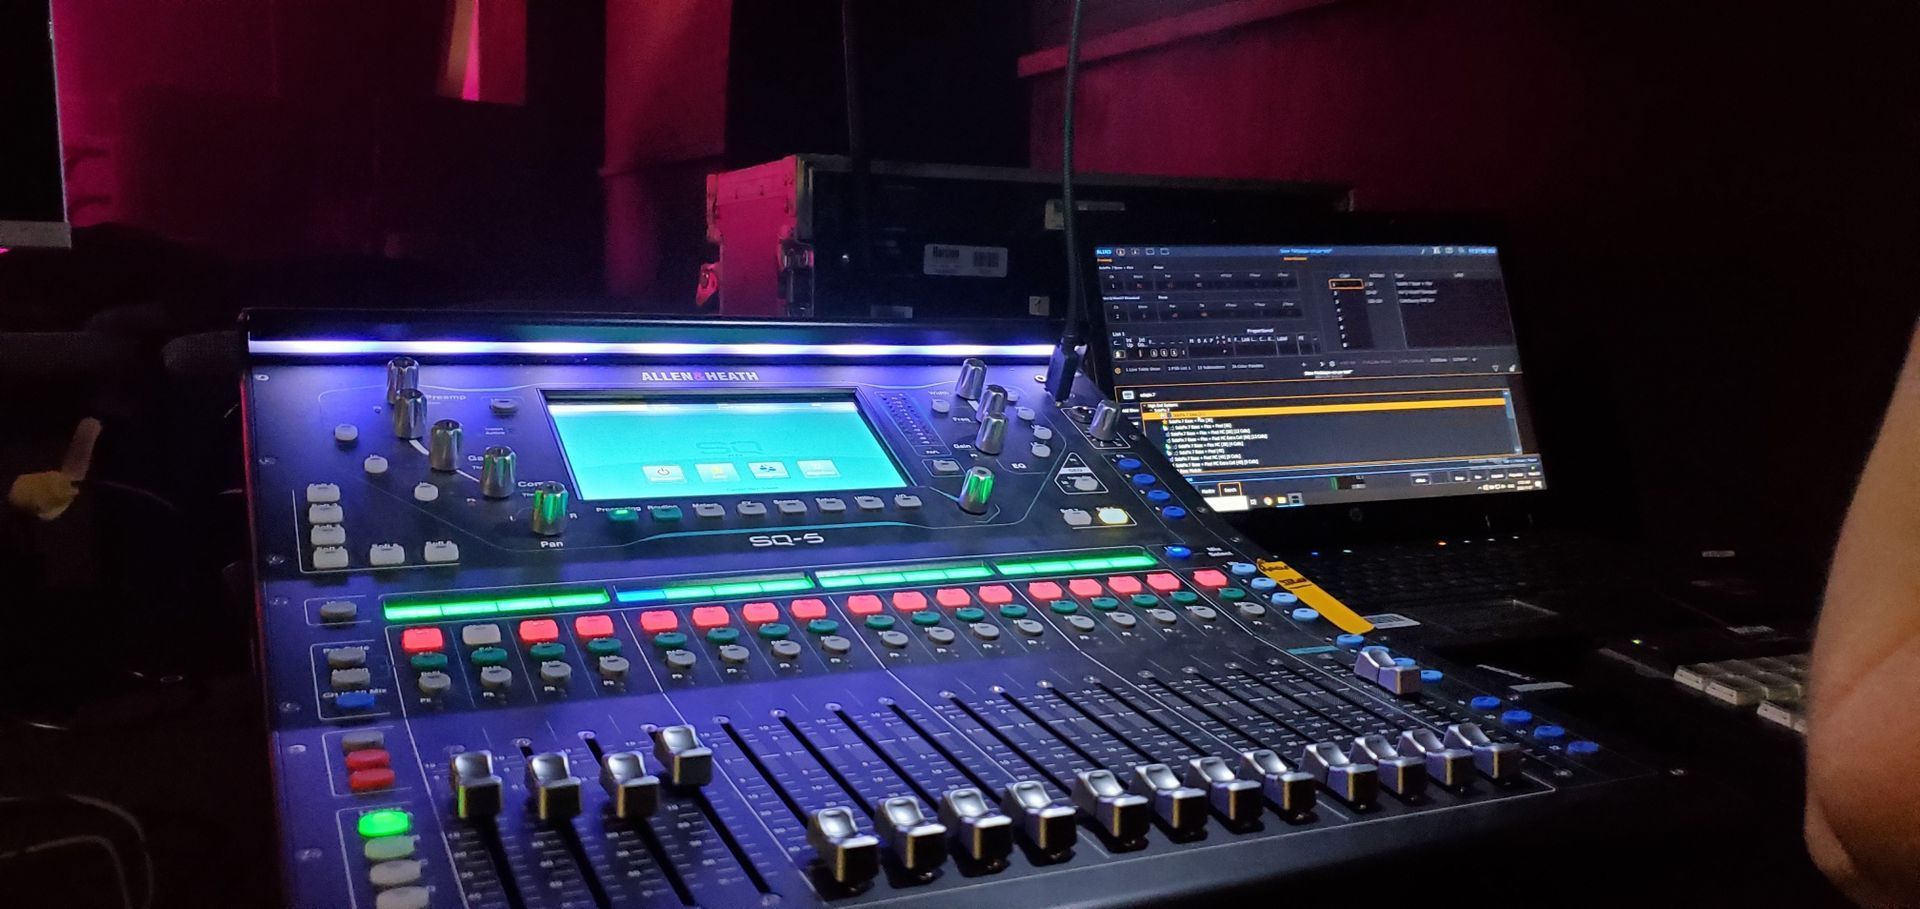
Audio mixing console in a dark studio with monitors showing a “No Signal” warning on stage
By Jordan Elgie July 22, 2026
If you’ve spent any time behind a console, in a booth, or backstage, you know this feeling well. The lights stop responding. A video signal refuses to appear where it’s supposed to. A strange hum suddenly shows up in the PA five minutes before doors. Troubleshooting is one of those universal skills in audio, lighting, and video — no matter your role, your venue, or your experience level. And while every system is different, the way you approach a problem matters just as much, or possibly even more, than tools you have in front of you. Recently, we surveyed 15 industry professionals across live sound, lighting, broadcast, and theatre. Different backgrounds, different disciplines — but their advice lined up almost unanimously: When you’re troubleshooting a problem, follow your signal path and only change one thing at a time. It sounds almost too simple. But this mindset is what separates efficient problem-solving from panic-driven cable swapping. Follow the Signal Path Every technical system — audio, lighting, or video — follows a logical signal path. And when something goes wrong, this is where disciplined troubleshooting really matters. As you move through that signal path, the rule stays the same the entire time: only change one thing at a time. Not one change per device. One change — then test. Start at the beginning of the signal chain and work forward step by step. At each point, ask yourself two very specific sets of questions: Do I have signal here? And just as important: is it the right signal? Do I have power here? And again: is it the right power? Those questions alone will eliminate a huge amount of guesswork. Once you’ve answered them, you can then ask the next burning question: Where exactly does the system stop behaving the way I expect? That’s how you narrow down the problem instead of chasing ghosts. When you make a change — swap a cable, adjust a setting, move a patch — test it. If it didn’t fix the issue, change it back before moving on. This keeps your system in a known state and prevents you from stacking changes on top of each other. Working this way might feel slower in the moment, but it’s dramatically faster in the long run. You stay oriented, you stay calm, and you always know what actually helped — and what didn’t. One Change. Then Test. Here’s the part people know… but don’t always follow under pressure. Change one thing. One cable. One fixture. One channel. One setting. Then test. If it didn’t fix the issue, change it back. Only then do you move on to the next change. Why is this so important? Because changing five things at once might feel faster — but it guarantees confusion. If the problem suddenly goes away, you won’t know which change actually solved it. And if it gets worse, you won’t know what caused that either. Systematic troubleshooting gives you clarity. It turns a stressful moment into a controlled process.

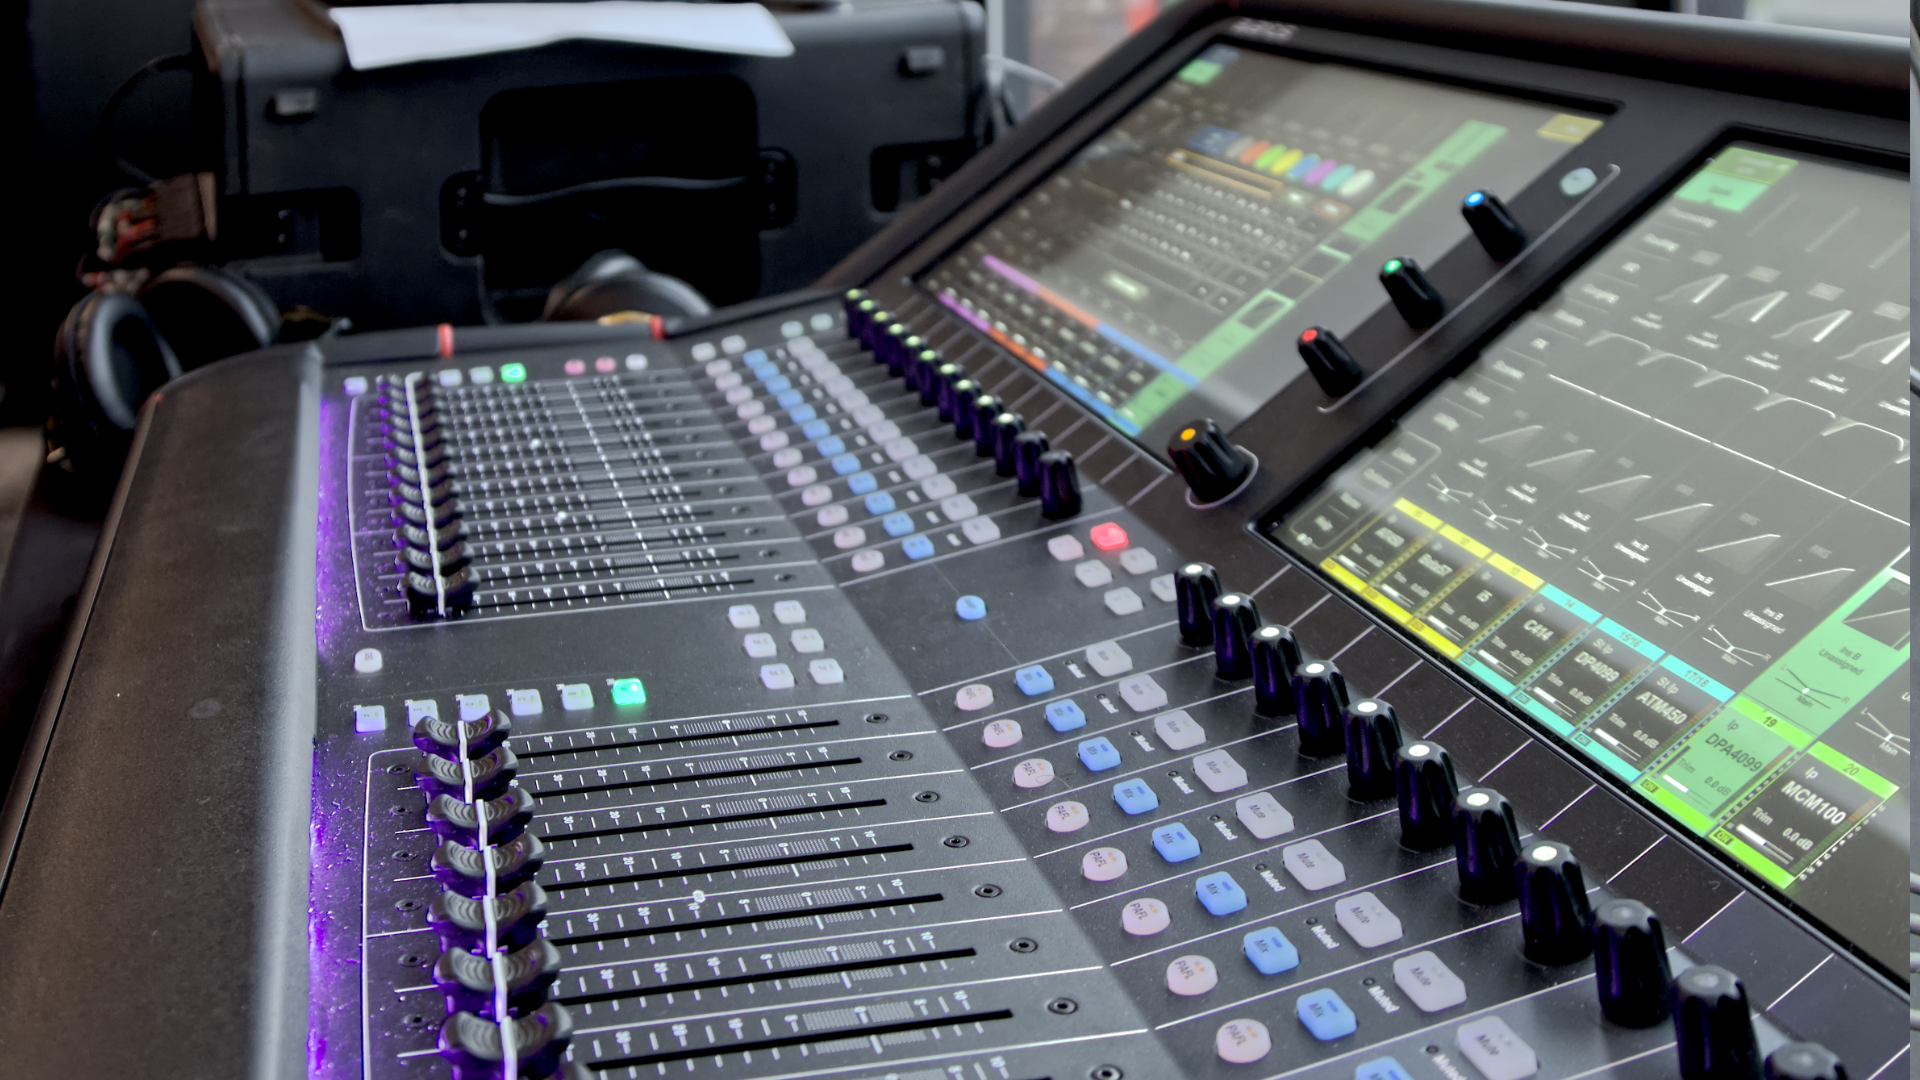
Digital audio mixing console with sliders, knobs, and illuminated touchscreen displays
By Jordan Elgie April 15, 2026
Learn how to set mic gain properly for cleaner audio, less feedback, and more consistent sound in live events, worship, and productions.
By Carl Lukings November 19, 2024
When it comes to procurement for professional audio, lighting, and video services, is it possible to balance the “best price” and “best service”? We think it is! Below are some insights that may help you navigate this challenge. The Challenge of Price-Driven Procurement Many municipalities and organizations are required to purchase from the vendor offering the lowest price. But is this approach always the best? As taxpayers, we want assurance that public money is being spent appropriately, and that there’s no room for favouritism or backdoor deals. The intent is good, but in practice, this system often results in a “bare bones” solution. The theory behind it is to guard against preferential treatment or collusion, ensuring that public funds are used responsibly. However, focusing solely on the lowest price can often result in solutions that are less than ideal.
By Jordan Elgie November 19, 2024
Essential Tips to Enhance Your Audio Experience – From Training to Equipment Upgrades
By Duane Myers October 8, 2024
Upgrade Your School's Audio and Stage Systems for a Superior Experience
By David Brown July 29, 2020
It certainly has been different times dancing on Zoom for over 2 months. Now we are coming up on a new dance season. Everybody has different levels of confidence in returning to activities and that is perfectly fine. Some kids can not wait to get back in the studio. Some want to continue but would like to do so from home. Of course, depending on class size there may be a rotation where you spend two weeks in the studio and one week at home. Maybe you will dance in the studio like normal (with new physical distancing guidelines) but want to practice at home. With these new situations Rosco has made a kit version of their popular dance floor called the Marley Mat . The floor that is used in the Rosco Marley Mat is a lighter weight version of Adagio floor that we use in our studios. That makes it perfect for dancing at home for all types of dance including ballet, jazz, acro, lyrical and even tap . It will have the same feel and “speed” of the studio floor. Being a lighter weight material allows the floor to be rolled up when not in use and unrolled and used immediately. The Marley Mat kit can be purchased for $ 149.00 (price current as of July 2020) plus shipping and tax. The package comes with a 5’ 3” by 6’ section of black or grey floor, and a roll of tape that would allow you to lay down and tape the floor 5 times. Additional tape can be purchased. You can find and purchase the kit from StageStore at the following link. StageStore is a great supplier in Ontario of theatrical type products. https://www.stagestore.ca/product/rosco-marley-mat-kit/
By Carl Lukings July 27, 2020
Redefining the microphone for the meeting space
By Carl Lukings June 9, 2020
Tech tips that can help your congregation make the transition back to church successfully
More Posts >